After making some changes to your website enabled with CloudFlare, you would naturally want to do a cache purge so that the content is refreshed all over CloudFlare’s 24 access points. That way your customers all over the world will be able to see your changes immediately.
If you have enabled CloudFlare for your site through WebHostFace, then you can cache purge your site from your cPanel by following these few steps:
- Log into your cPanel with WebHostFace and click on the CloudFlare icon located in the Software/Services section.

- Your CloudFlare enabled websites will be shown and you just have to click on the Statistics and Settings link next to the site you want to cache purge.

- On the CloudFlare Settings tab that opens just click on Click here to purge on the Cache Purge row and you are all set.
This will force CloudFlare servers to acquire a fresh copy of your site from your main server and then present it to all requests after that until another copy is acquired manually or automatically.
You can alternatively cache purge your website from your CloudFlare account:
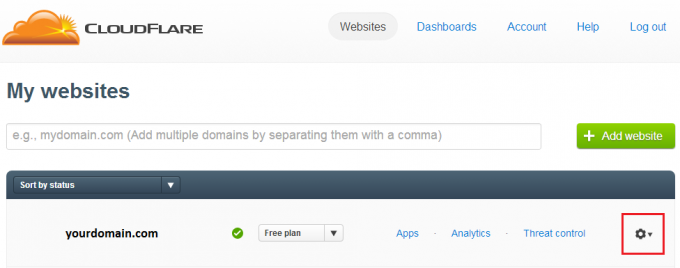
- Log into your account with CloudFlare. Click on the cog wheel next to your website’s domain and choose CloudFlare Settings.

- On the CloudFlare Settings page that opens find the Purge Cache button and press it. That’s it.


